

Transform Candy Corn into Candy Bars.
Candy Corn is a staple during Fall months and especially for Halloween. Did you know if you melt Candy Corn and add Peanut Butter, you have the flavors of a Butterfinger Candy Bar?
I make these in the mini candy bar size which seems to be the perfect portion. These are quite easy to make with only three ingredients. You might want to make two batches because they won’t last long!
MINI CANDY CORN BUTTERFINGERS
Ingredients:
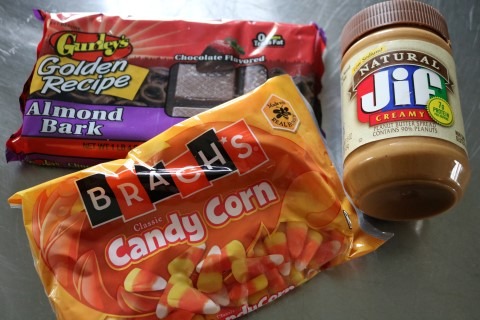
- 3 Cups Candy Corn
- 1 Cup Creamy Peanut Butter
- 1 Package (20 oz.) Chocolate Almond Bark
Directions:
1. Line an 8 x 8 baking dish with foil. Lightly spray foil with nonstick cooking spray and set aside. Also, line a large baking sheet with parchment paper and set aside
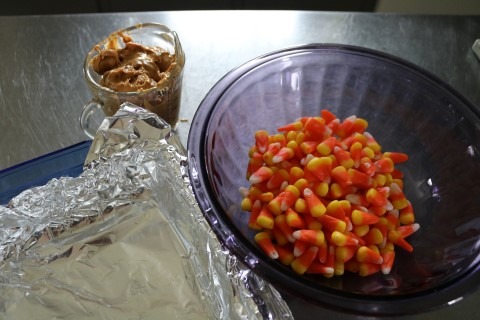
2. Put the Candy Corn in a large microwave safe bowl. Heat in one minute increments to melt the Candy Corn. Mine took about 3 minutes on high. You do need to check the Candy Corn and stir every 30 seconds because once it is melted, you need to stop the cooking process or the Candy will seize up. Once the Candy Corn is melted, remove the bowl from the microwave and set aside.
3. Place the Peanut Butter in a small microwave safe bowl or measuring cup and heat for 25-30 seconds just to loosen the Peanut Butter up to a runny consistency.
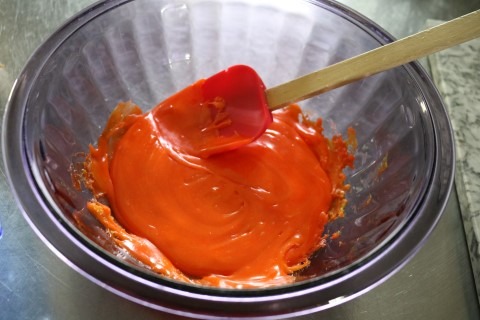
4. Stir together the melted Candy Corn and the Peanut Butter until completely incorporated.

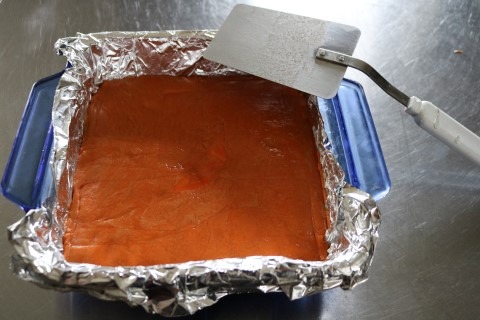
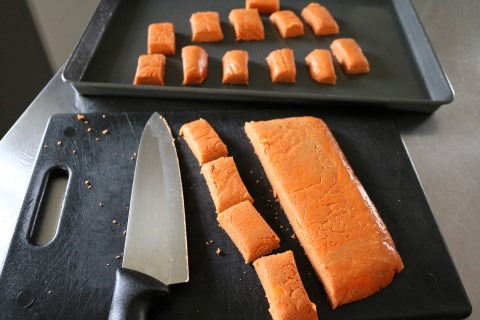
5. Press the Candy Corn mixture into the prepared pan. Use a spatula to press the Candy Corn mixture down so it is flat, as you see here.
6. While the Candy Corn mixture is still soft, use the foil to remove it from the pan. I just flip it over onto a cutting board and dispose of the foil. Now cut the Candy Corn into 1 x 2 inch Bars as you see here. You should get about 28 Bars.
7. Now melt the Chocolate Almond Bark according to package directions for the stove top method.

8. Once the Chocolate Almond Bark is completely melted, start dipping the Candy Corn Bars into the Chocolate one at a time, then place them on the prepared baking sheet lined with parchment paper. A tip for dipping: balance an individual Bar on a fork and then lower it into the melted Chocolate, coating all sides. Don’t pierce the Bar with the fork, merely set the Bar on the fork and let the extra Chocolate run off the Bar and back into the pan, then transfer the Bar to the prepared sheet pan. I like to add a little fancy squiggle on top of each Bar with the extra Chocolate, but that is optional
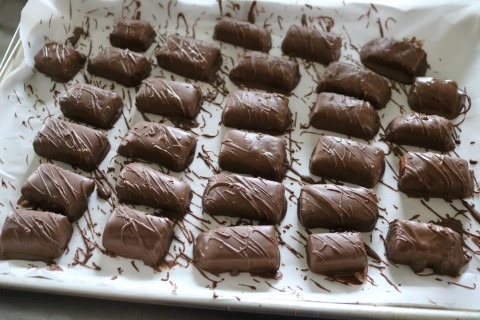
9. Allow the Bars to cool completely. If you have a little extra Chocolate run off on the edges, simply remove it. A little snack perhaps, prior to the real treat? Now you can transfer the Candy Bars to a serving platter or store in an airtight container.
Recipe by: Hot Dish Homemaker
I’ve made a few of your recipes, but don’t have the information down here in Az. So far though, we’ve been batting 100%. Keep ups the good work.
I love these. The taste and texture is perfect. It’s hard to stop at just one.